Home
Kalender
Erfolge
Erfolge 2025
Erfolge 2024
Erfolge 2023
Erfolge 2022
Erfolge 2021
Erfolge 2020
Erfolge 2019
Erfolge 2018
Erfolge 2017
Erfolge 2016
Erfolge 2015
Ausbildung
Kurse
Bogensport
Bogenarten
Schiessarten
Kyudo
Weblinks
Bilder
2024
2023
2022
2021
2020
2019
2018
2017
2016
2015
2014
2013
2004
über uns
Wo trainieren wir
Wer sind wir
Statuten
Miete Clubhaus / Firmenevents
Kontakte
Iris Gassler / Präsidentin
Dani Knaus / Vizepräsident / Trainer
Daniel Knechtli / Kassier
Verena Filli / Aktuarin
Daniel Braunschweiler / Materialwart Aussenbereich
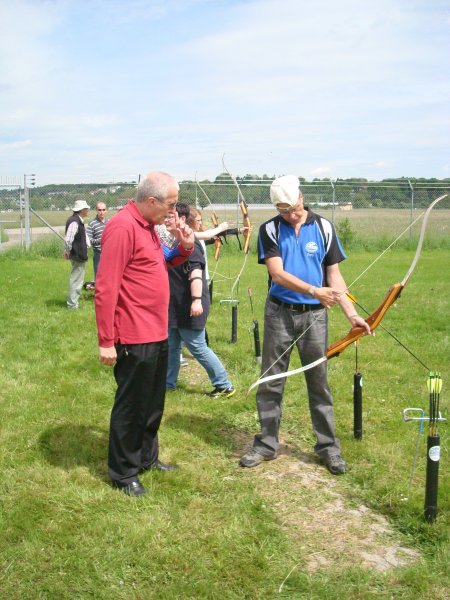
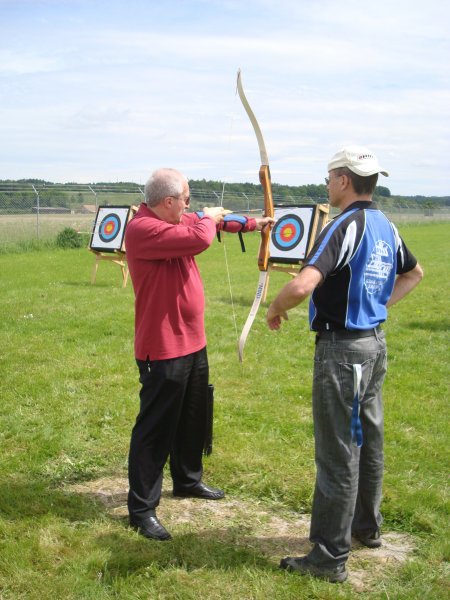
Tag der offenen Tür
2014
Titel
Play Slideshow
Pause Slideshow
Powered by
Phoca Gallery